Make a Battle Jacket
A practical guide to building a battle jacket that lasts, from picking the vest and planning the back patch to stitching, studs and care.
In this piece
How do you make a battle jacket that looks right and survives years of gigs? The answer is mostly patience: pick a solid base, plan the layout before you sew anything, and attach everything properly so it does not fall off in the first pit.
Choosing the vest and planning the layout
Most battle jackets are denim or leather, usually sleeveless. A denim jacket with the sleeves cut off is the classic starting point and is easy to sew through by hand. Leather is tougher and heavier, but much harder to stitch, so it suits people willing to use a leather needle, a thimble and more time. Whatever you choose, make sure it fits over the layers you wear to shows.
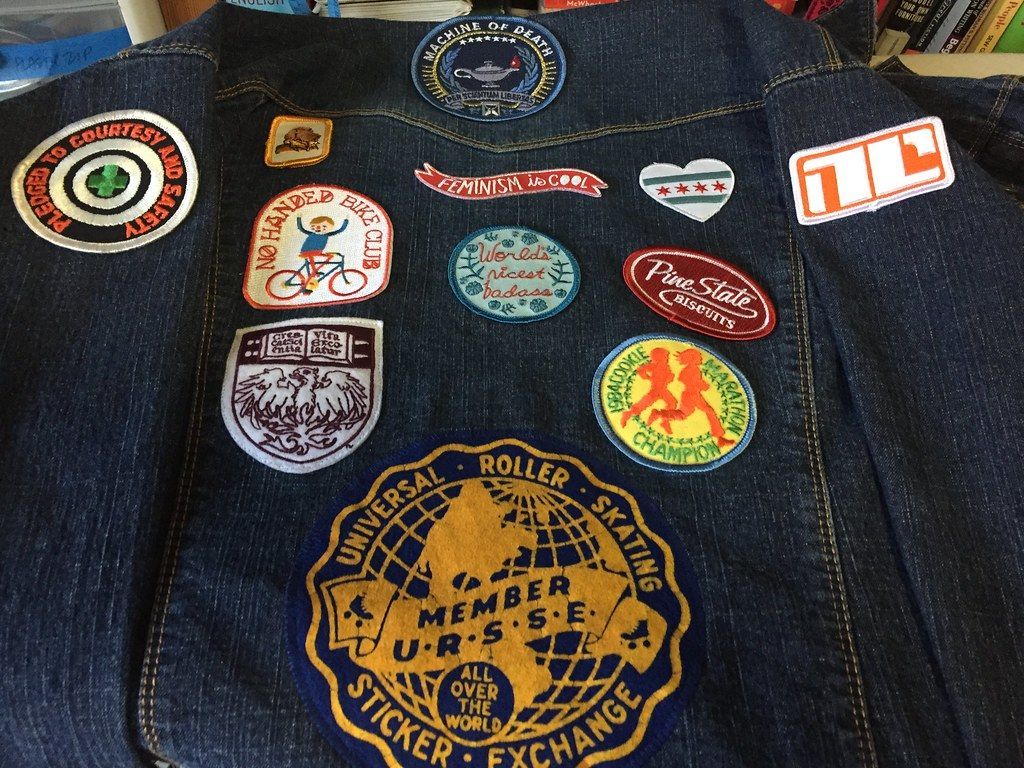
Start with the back patch. It is the largest piece and the centrepiece of the jacket, so it goes first and everything else is arranged around it. Lay the vest flat, place the back patch, then try out smaller patches around it and on the front panels before committing. Taking a photo of each layout helps you compare options. Leave a little space: many people add patches over the years, and a jacket that is full on day one has nowhere to grow.
Sewing patches, adding studs and customising
Sew patches on rather than relying on iron-on adhesive. Heat-applied glue tends to lift at the edges with wear, washing and movement, while stitching holds for as long as the thread does. Many iron-on patches can still be sewn over, so an iron-on backing is not a problem if you stitch it as well.
Use a strong thread, such as heavy-duty polyester or upholstery thread, and a sharp needle that passes easily through denim. A simple whip stitch or running stitch around the edge of the patch is enough; keep stitches small and close together, and pin or tack the patch in place first so it does not shift. Some people choose thread that matches the patch border to hide it, others use a contrasting colour on purpose.
Studs come in two main types. Pronged studs are pushed through the fabric and their prongs are bent flat on the inside, usually with a blunt tool or pliers. Screw-back studs pass a screw through a small hole from the inside and suit leather or thick denim. Plan stud lines around patches, mark them with tailor's chalk, and fit them after sewing so they do not block the needle. Pins and badges can go anywhere and move later.
Bleaching or dyeing the denim is optional. If you do it, do it before any patches go on, test on a hidden spot, wear gloves and work in a ventilated area, and rinse and wash the vest thoroughly afterwards.
Care and the culture behind the kutte
Battle jackets are rarely washed often. Spot-clean marks, air the jacket out, and if it needs a full wash, hand-wash it gently in cold water and let it dry flat, because hot washes and tumble drying are hard on patches and stitching.
The jacket grew out of biker culture, where sleeveless cut-offs carried club colours, and was taken up by punk and heavy metal fans. In German-speaking scenes it is called a kutte, a word that originally meant a monk's habit or cowl, and the term is used across much of the European metal underground. The patches are a record of what the wearer listens to and has seen live, which is why many fans value patches bought at shows or from the bands themselves.
The practical next step: choose your vest and back patch, lay out everything you own on it, photograph the layout, and sew the back patch on first.